Installing WordPress has never been easier. With the one-click WordPress install feature on DreamHost, you will get your website up and running on the internet.
In this full step-by-step guide, you will learn how to create a WordPress website on DreamHost, install an SSL certificate, manage your domain name, and more.
DreamHost’s Uniqueness:
DreamHost is one of the best shared hosting companies that provide fast and reliable web hosting services. Read DreamHost review.
Here are some of the DreamHost advantages:
- DreamHost provides fast web servers: The loading speed it delivers compared to other shared hosting is fascinating.
- Month-to-month options pricing: You can get a hosting plan without committing to annual payments for it.
- Many free features: Such as free domain name registration and free domain privacy, unlimited bandwidth, free automated daily backups, free SSL certificate, and free automated WordPress migration

That being said, let’s see how we can create a WordPress website on DreamHost step by step.
1. Sign Up For Dreamhost
The first step that you would take is to create an account on DreamHost. If you already have an account, you can skip this part and go to the next step.
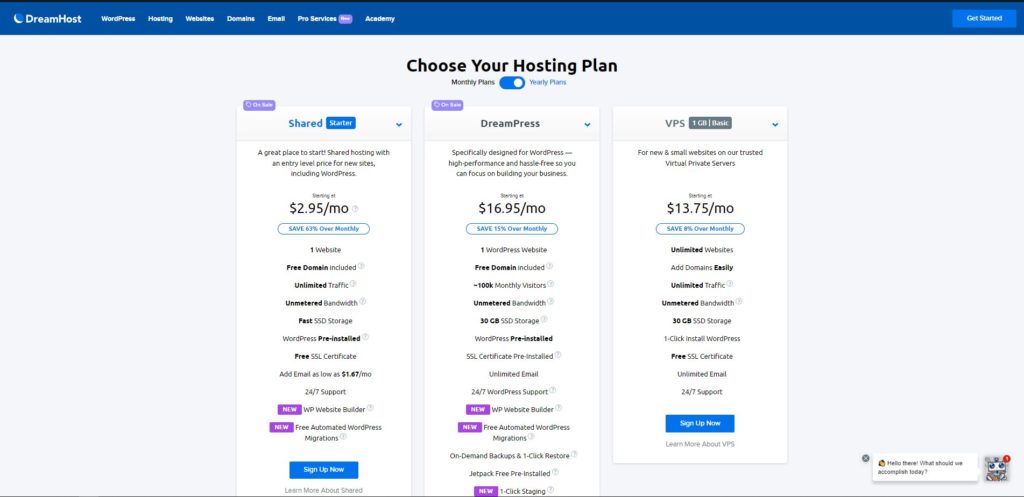
Go to dreamhost.com; this link will redirect you to the home page. Click on Get Started. Once you do that, it will take you immediately to a page where you need to choose your hosting plan.
Choose a hosting plan:
If you know what these plans are, you can choose what suits you. Otherwise, choose the Shared Hosting plan; it’s a choice for all beginners. Read how to choose a web host.
After you decide what plan you will sign up for, click on Sign Up Now below each plan to go to the next step.
Choose a domain name option:
Once you go to the next page, on the Choose a domain tap under your plan, you need to specify for how long you want to sign up for your hosting plan. 1 Year, 3 Years, or monthly.
On the left side of the page, you will see three domain name options: choose a domain later, register a new domain, and I already have a domain option, and they are free for the first year.
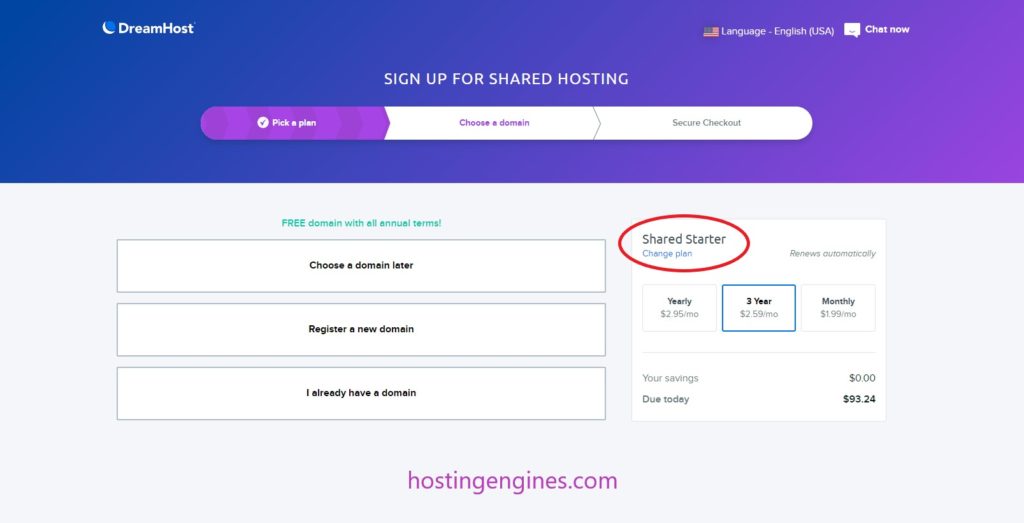
- Choose a domain later, this option will let you skip the domain registration to choose it later, and take you to the checkout page where you pay for the hosting plan you have chosen.
If the domain name is available and has not been registered before, you can click on Add for $0.00 and then go to the checkout page.
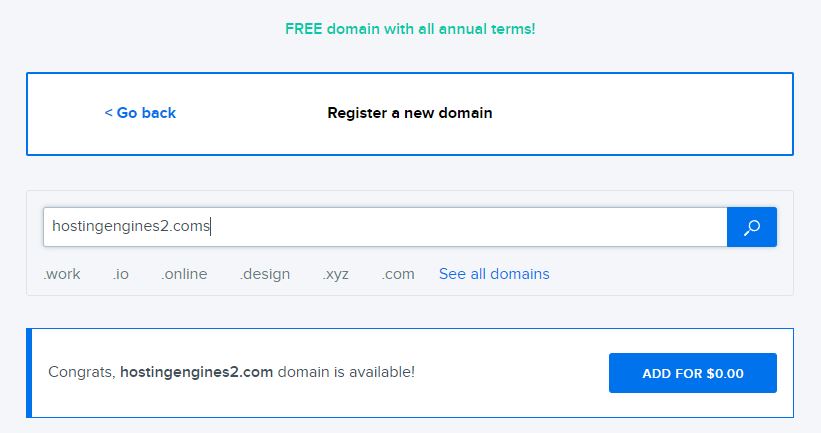
- Register a new domain. This option lets you register a new domain name on DreamHost. You can type in your domain name with the ending you want and then search for it.
Click on Register a new domain, add for $0.00, and then go to the checkout page.
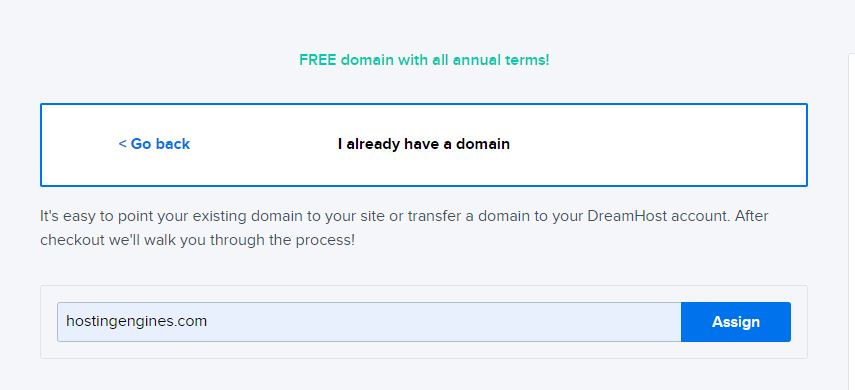
- I already have a domain; this will give you the option to transfer a domain name you own to DreamHost, or just add it to your website now and manage it on its old registrar.
Click on I already have a domain, type in your registered domain name, and then click on Assign to proceed to checkout.
Keep in mind that the free domain name registration is only available on the 1-year and 3-year tiers. It’s not available in the one-month tier plan.
Activate your DreamHost account:
On the checkout page, you need to fill in your payment details, account details, and additional options for your hosting package, such as pre-installing WordPress.
You have two payment methods you can choose from in order to pay for the web hosting that you have chosen. You can pay via Credit or Debit card, or via PayPal.
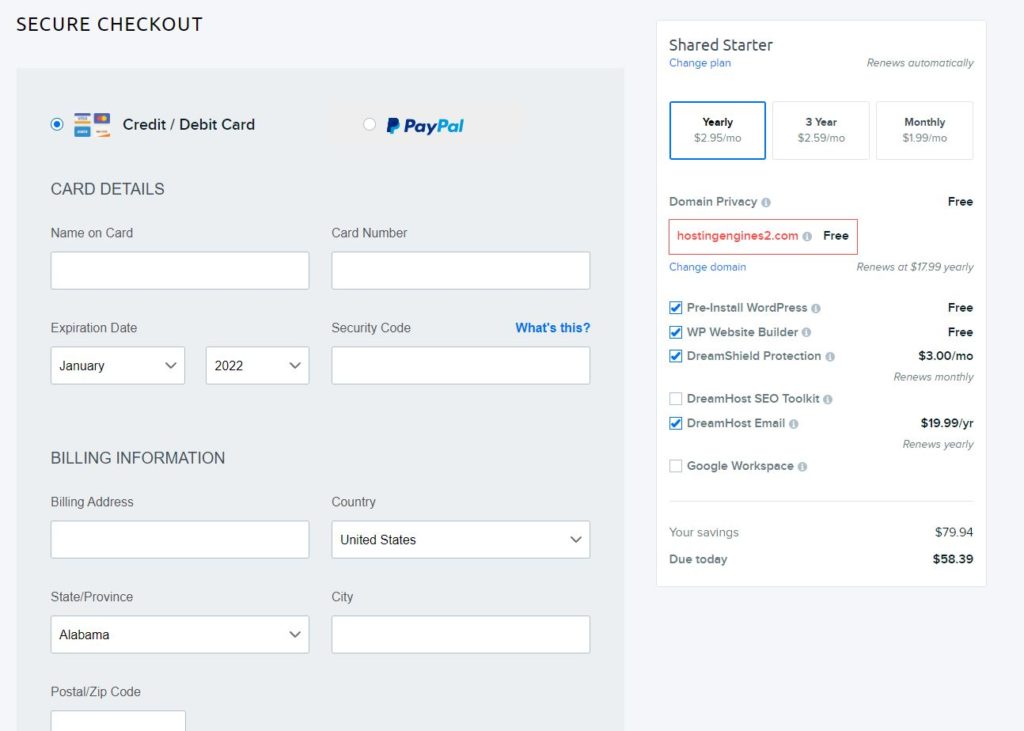
Heads up, some of the additional options are not free, such as Dreamhost webmails and Dreamhost SEO toolkit.
To get WordPress installed automatically, right after you make the payment, you need to click on the Pre-Install WordPress checkbox. Also, you can install it on the DreamHost dashboard later.
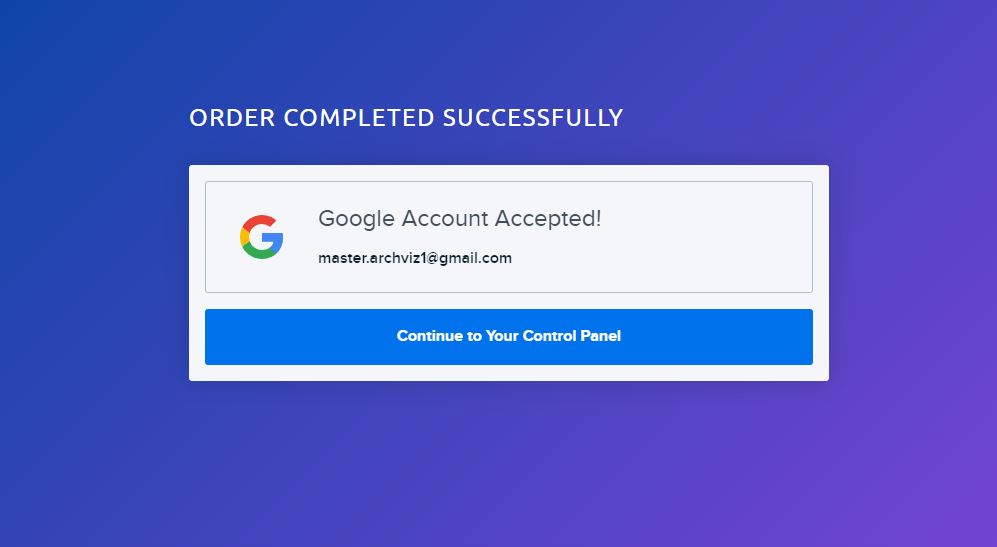
Next, scroll down and click Submit Order. The money written on the right bar of the page will be withdrawn from your bank account, and then your account will be activated and approved, and your web hosting order will be completed immediately.
You can click on Continue to Your Control Panel to log in to your DreamHost account.
If you already have an account with Dreamhost, you won’t be going through all the steps above. You can simply log in to your account.
2. DreamHost Control Panel Configuration
When you log in to your DreamHost account, at the top of the home page, you will find your website URL.
Since I chose to choose a domain later, DreamHost gave me a temporary subdomain for my website. If I clicked on this domain nam,e it will take me to my websit,e which is a simple WordPress website.
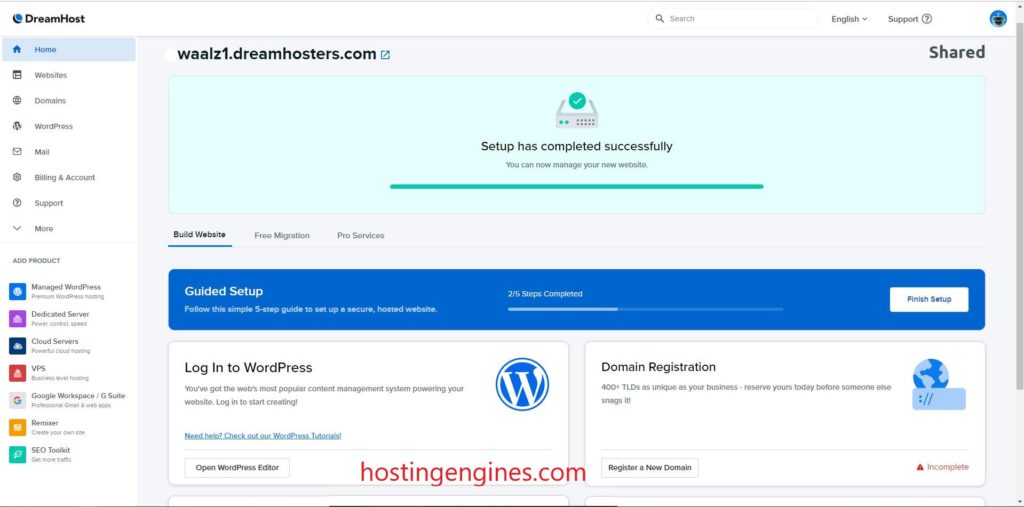
On the same page, scroll down to find four options. Log In to WordPress, Domain Registration, File Manager, and Database (MySQL).
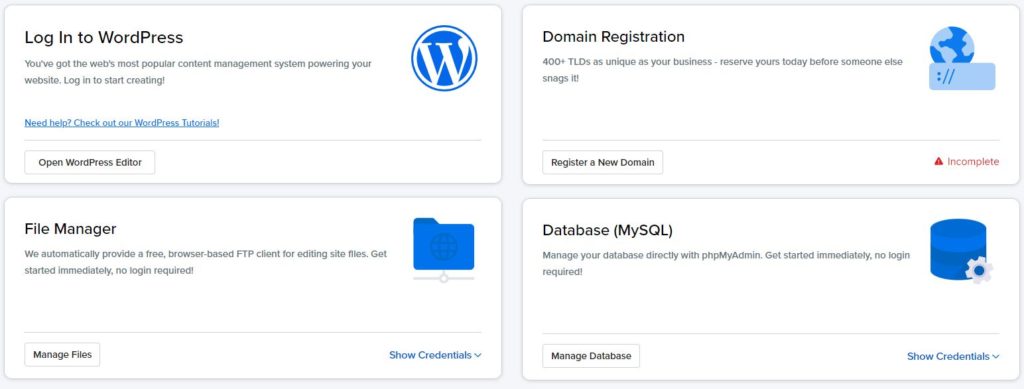
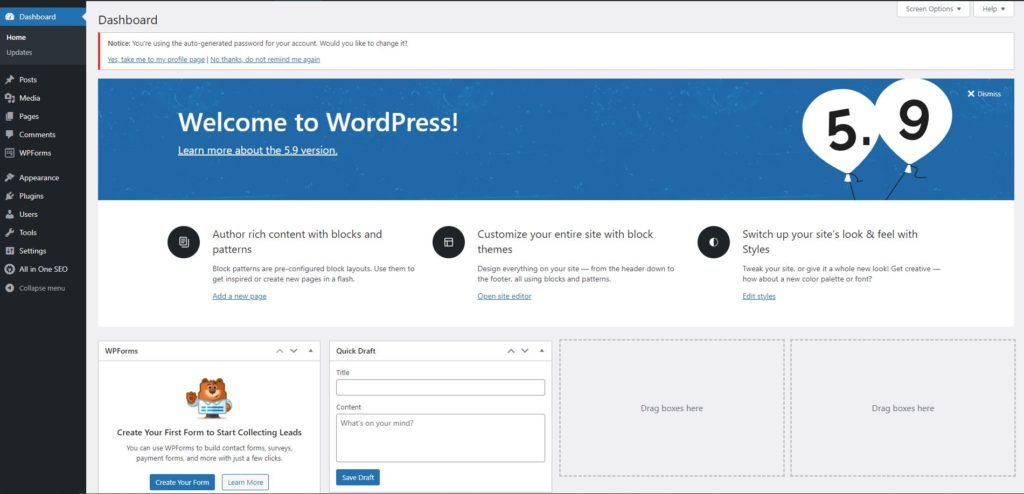
- Log In to WordPress: This option allows you to access your WordPress control panel dashboard, where you can customize your website, apply themes, install plugins, add menus, and more.
- Domain Registration: Since I didn’t register a domain name at first, now I can register a domain name for free at any time. Just click on domain registration and register the domain name you want.
- File Manager: This is a built-in FTP client, where you can add, delete, or edit your website files. For beginners, this is not a recommended place to touch, as you may ruin your website accidentally.
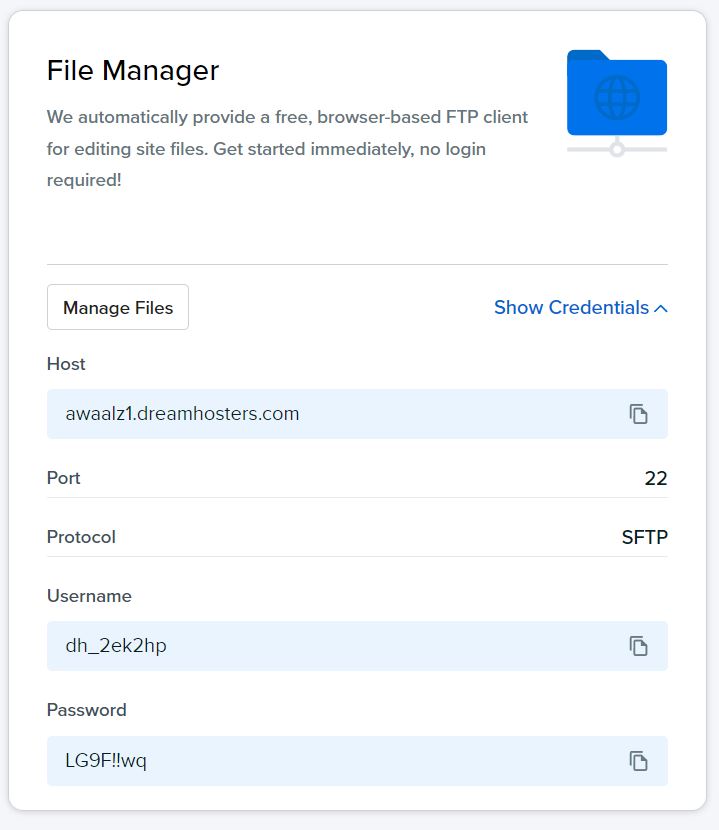
- Database (MySQL): This option lets you control your website database. The database also has its own credentials; you can see them by clicking on Show Credentials.
For those who don’t know much about File Manager and Database, don’t edit or delete any of the files there without knowing what you are doing. Always ask DreamHost support to help you out if you need help.
On the left side of the control, you will see the main control panel navigation. From there, you can manage your account settings, your websites, your domain names, your hosting plans, and more.
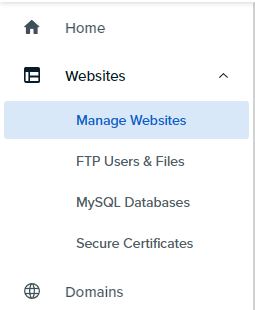
The first tap on the main toolbar is Home, the one we explained above, and the second tab is Websites, where you can manage your websites, website’s files and databases, and more.
After the websites tap, there is the Domains tap. From the domains tap, you can manage your existing domains, register new domains, and transfer your existing domains.
From there, you can also manage WordPress, emails, support, web hosting plans, etc.
3. Install WordPress
If you have already chosen the Pre-Install WordPress option when you first sign up, then WordPress should be installed automatically. All you need now is to change your domain name, as we will explain if you didn’t add a domain before.
But if you didn’t choose the Pre-Install WordPress selection or you want to create another website on your hosting plan, follow the steps below.
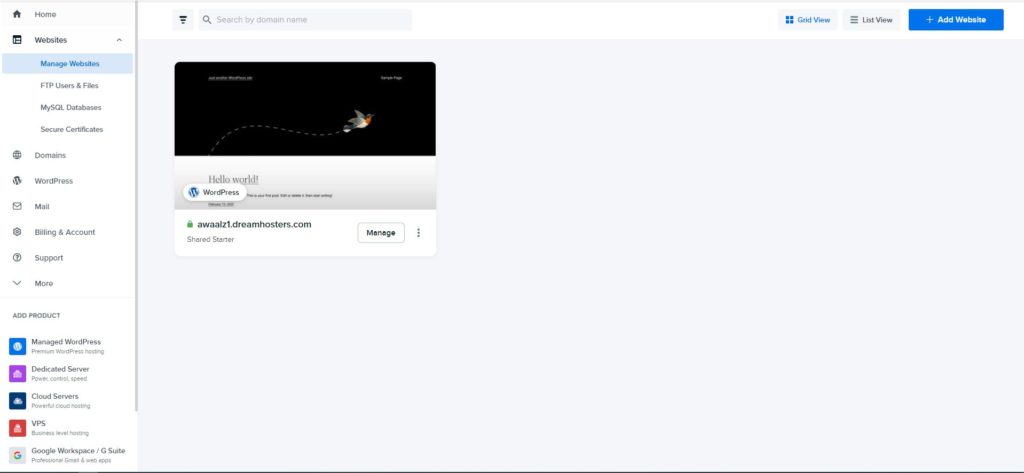
Go to Manage Websites on the Websites tab on the main control panel bar. From there, you can see and manage all of your websites.
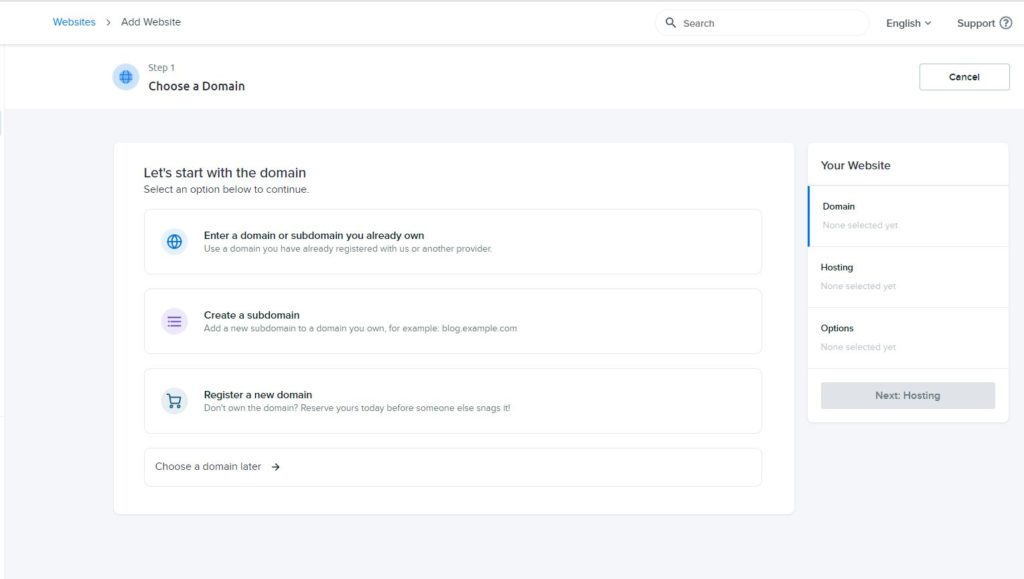
Next, click on Add Website at the top left corner of the Manage Websites page to add a new WordPress website.
This option will take you to the three options that you chose when you first signed up for DreamHost. Add a domain name, register a domain name, or add a domain name later.
Select the one that you need and then proceed to the next step, adding a hosting plan. If your hosting plan is a Shared Starter plan, you can’t add more than one website.
You have to change your hosting plan to Unlimited or add a new hosting plan in order to make more than one site. If your plan is the Shared Unlimited plan, you can add as many websites as you want.
Next, install WordPress. DreamHost will automatically install WordPress for you for free.
At last, click on Set Up Website. After a few seconds, your website will be ready to use and modify as you want.
4. Manage Your WordPress Website
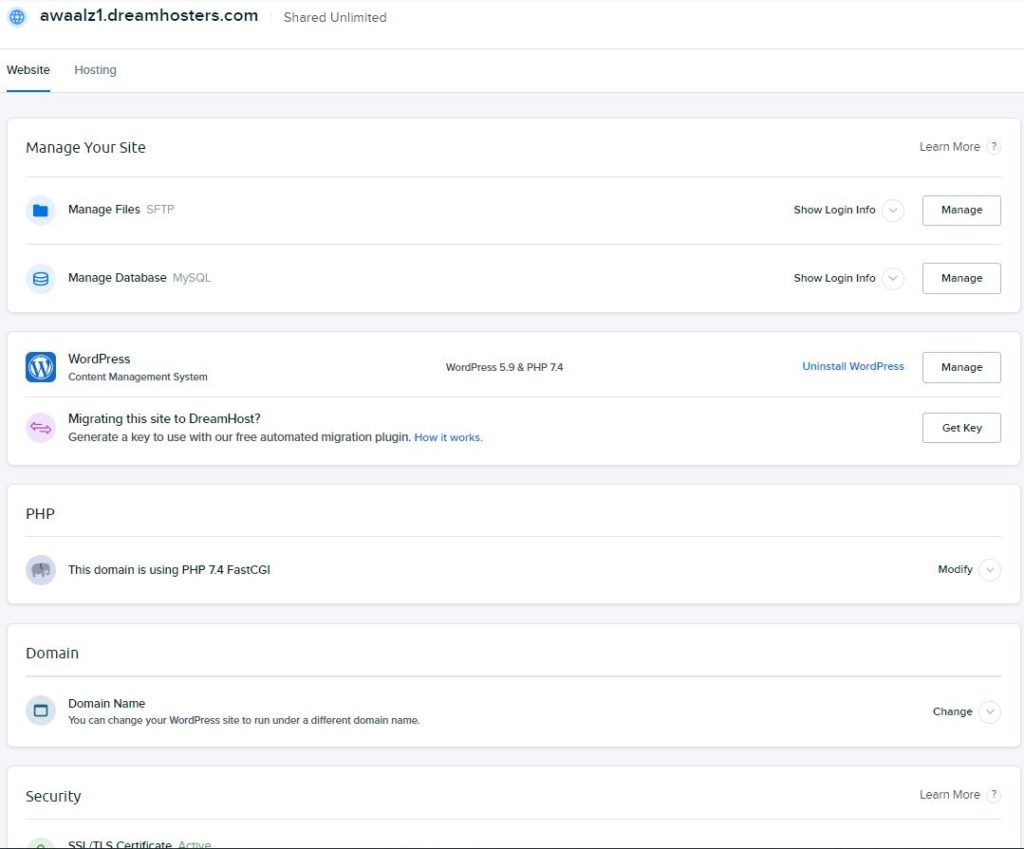
Let’s see how we can edit our existing websites. Go to Websites, Manage Websites. On the website that you want to edit its settings, click on manage.
The first thing you will see is the Website tab and the Hosting tab. From the Hosting tab, you can manage and change the hosting plan that you have.
From the Website tab, you can manage and edit your website files, website database files, SSL certificates, WordPress installation, Dreamhost mails, migrations, and change your domain name.
5. Add or Change the Domain Name
The example we will take here is the same website that we used to sign up for DreamHost. I chose to add a domain name later to demonstrate the process.
The current website domain is (name.dreamhosters.com).
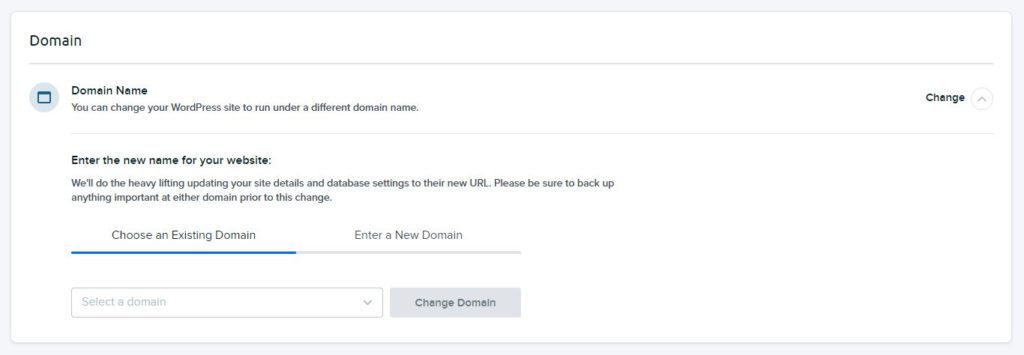
When you want to change the domain name of a website, you would want to click on Manage under that website to go to the website settings.
On the domain name section click on Change. A window will roll out to let you choose between choosing a domain name that exists on Dreamhost or entering a new domain.
After you type in your domain name, click on Change Domain, wait a few minutes, and then you can access your website frontend from the new domain name that you added.
Install WordPress On DreamHost: The Conclusion
For sure, DreamHost is one of the best shared web hosting providers. It’s reliable and provides great services on fast servers.
Creating a WordPress website on DreamHost is also so easy and so simple. So, if you wish to host your website on DreamHost, follow the steps above.
Read also:
Dreamhost Review.
Dreamhost vs Bluehost.
Make a WordPress website on Cloudways.
Install WordPress on Vultr.
Best cheap web hosting under $3.