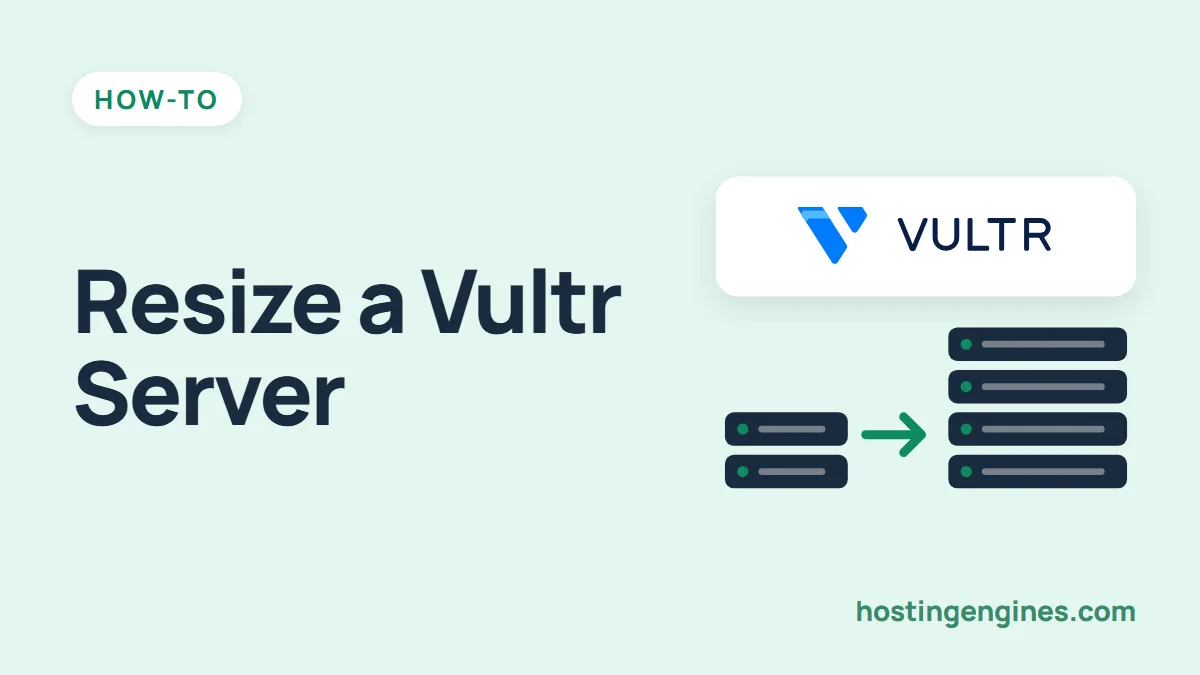
When your website grows and gets more visitors and traffic, you may need to scale up your server resources.
In other words, you give the server more resources: CPU, RAM, bandwidth and storage space.
This process on Vultr is pretty easy, and it only takes a couple of minutes. Here’s how to scale up a Vultr instance:
First: Go to Vultr and log in to your account using your credentials. Then go to Products > Compute, where you’ll find all your cloud instances.
Second: Choose the instance that you want to resize and click on it to access its dashboard.
Third: Open the Settings tab of the server, then pick Change Plan from the menu on the left to open the plan options.
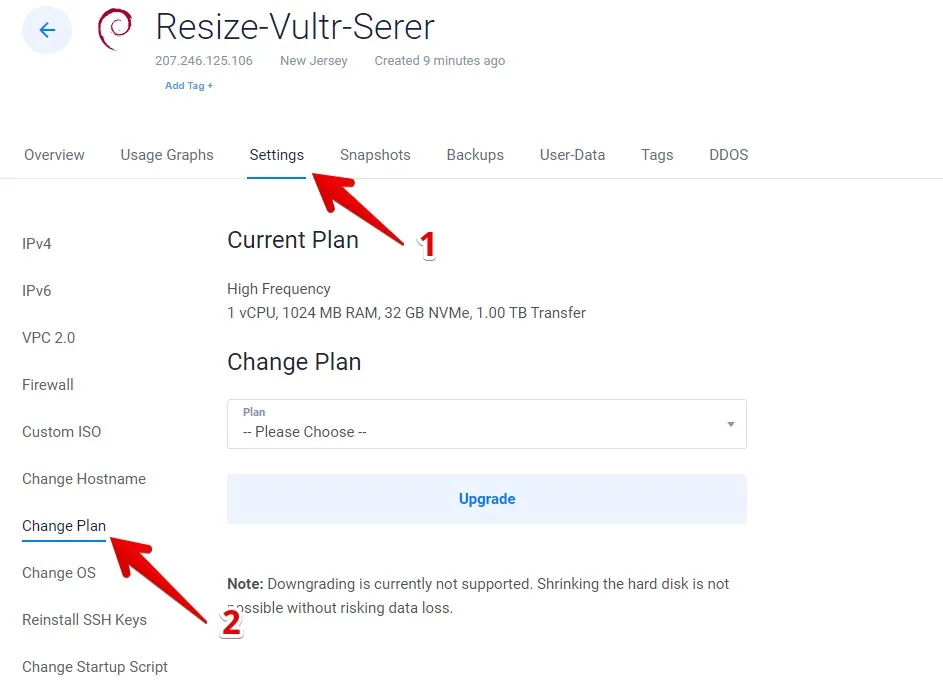
Fourth: Under Change Plan, open the plan dropdown to see all the upgrade options for your server. Select the plan that fits your needs and click Upgrade.
Fifth: Vultr shows you the new resources and the new price. Review them, confirm, and click the Change Plan button.
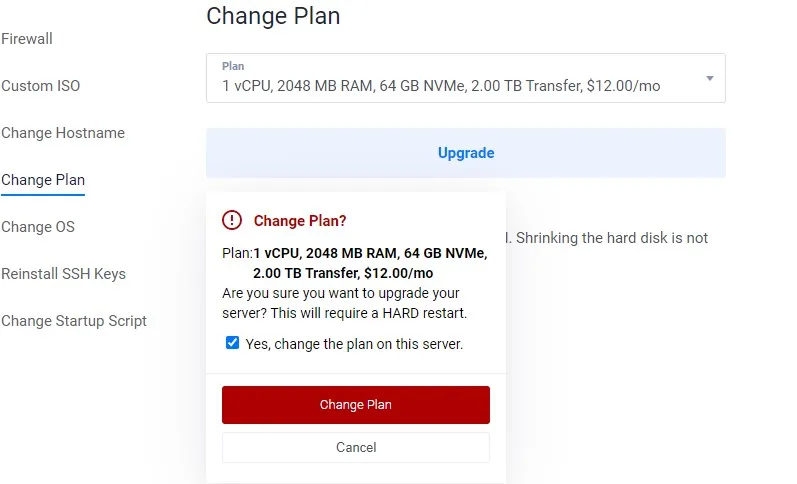
Wait a few moments and you’re done. Your data and files stay as they are. One thing to keep in mind: Vultr only lets you move up to a bigger plan, downgrading isn’t supported, so don’t pick a plan that’s much larger than you need. To compare the plans first, see Vultr pricing. And if you need the server in another region instead of a bigger one, here’s how to change your Vultr server location.