Cloudways is a great cloud VPS web hosting with many features and great performance at reasonable pricing. Building your websites on Cloudways is a great idea, as we already have many of our sites on Cloudways
In this article, I’ll walk you step by step through the process of creating a WordPress website on the Cloudways cloud hosting Platform, migrating your WordPress site, and hosting multiple websites on one server.
Why Cloudways?
What makes Cloudways stand out from all web hosting providers? There are several reasons behind that. For now, let’s count some of them.
- Easy to use: Creating websites on self-managed cloud hosting such as AWS needs high web development skills. Cloudways makes it easy for you, they do all the managing and configuration.
- Reasonable Pricing: The server costs $11 per month on Cloudways, between $35 to $100 on Kinsta, Cloudways’ Competitor.
- Pay-as-you-go: you only pay for the resources you consume.
- Host many websites on one server: On one server on Cloudways, you can host multiple websites with no additional fees.
- Great performance: Because Cloudways partnered with such great web hosting companies. Its uptime and loading speed gotta be significant. Read Cloudways review
Step 1: Signup for Cloudways
The first step you need to do in order to create your website is to sign up for Cloudways by going to Cloudways platform.
If you have already signed up for Cloudways, that means you created your first server. You can skip the server part.
Click on start here to sign up and make a new account. It will immediately take you to the next page to fill in your account information.
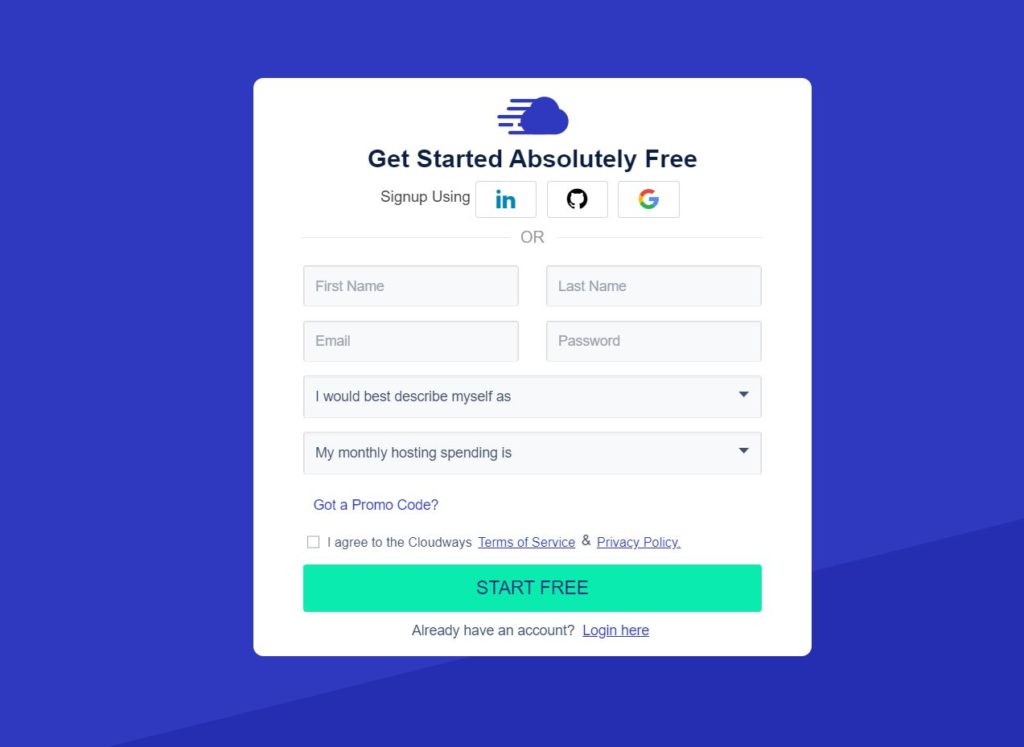
Fill in the empty fields and click START FREE, or continue with the easier option, signup via Google, Linkedin, or Github.
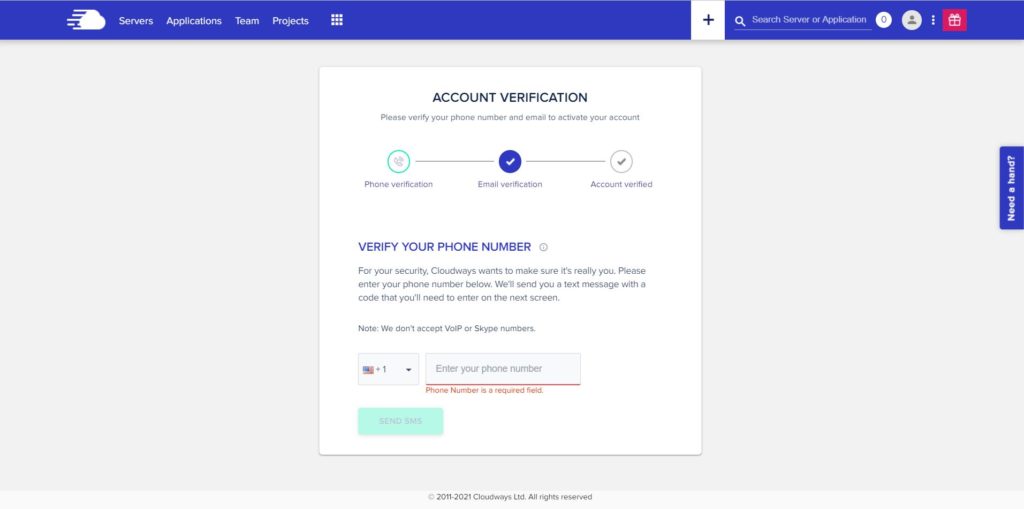
After submitting all the required data, you will receive an account confirmation message on the email you registered with on Cloudways. Verify your account and add and verify your phone number.
Step 2: Deploy a Server
As you may know that Cloudways offers hosting on five of the best-managed web hosting services on the internet.
It allows you to choose any of them to host your site on and gives you 3 days free trial for one of them, no credit card required.
These 3 days should be enough to test Cloudways before upgrading to premium. After the end of the free trial, you will have to upgrade your account, otherwise, you will not be able to access your server and apps.
1. Choose the server provider and the plan:
In this step, you will choose the cloud host that you want to create the server with. You can create as many servers as you want and move your server from one to another later.
The five of them leading technology companies but the prices differ from one to another.
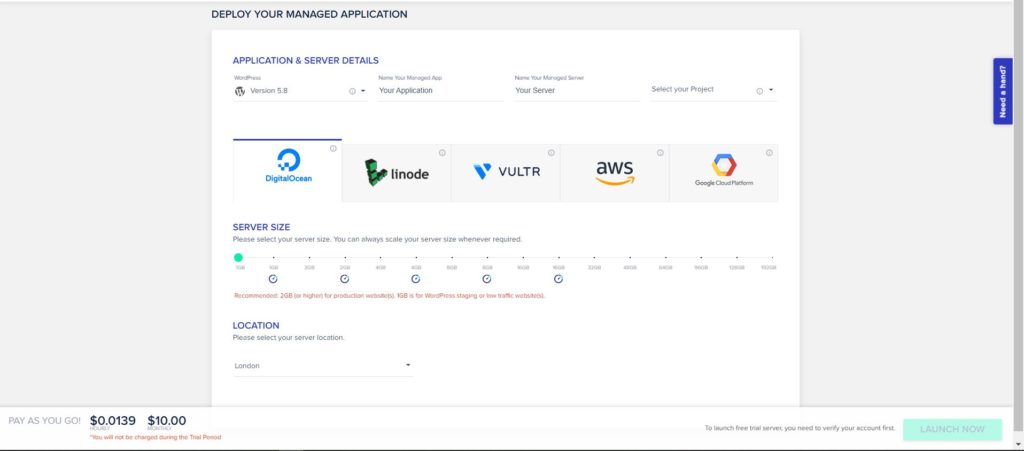
In this tutorial, I’ll make the server on DigitalOcean. On DigitalOcean -the first option- you can start with a small server for $11/month. Vultr comes after with a little difference in money.
Choose the server provider and set the server size. the least resources you can start your server size with on DigitalOcean is the 1GB plan.
This plan comes with 1GB RAM, 25GB SSD Disk Storage, 1 Core Processor, and 1TB traffic transfer which is pretty good to start with.
This server size costs $11 per month pay-as-you-go plan. You will notice the changes in the prices when you increase the server size on the indicator.
You will not be charged during the trial period, but after the end of the 3 days, you should upgrade your account to premium in order to use their services.
Read how to install WordPress on DigitalOcean
2. Choose the server data center:
Cloudways offers more than 40 data centers around the world divided between these 5 server providers. The server should be close to your site’s visitors to increase the speed and performance of the site.
Since the website that I’m creating right now is targeting New York citizens, I’ll select the New York data center.
3. Fill in the server and application details:
The next thing you need to do is to set up your server details and your first application details.
Your first application (website) will be created along with the server creation.
That means that your server will contain one website you can use and modify to match your desired website.
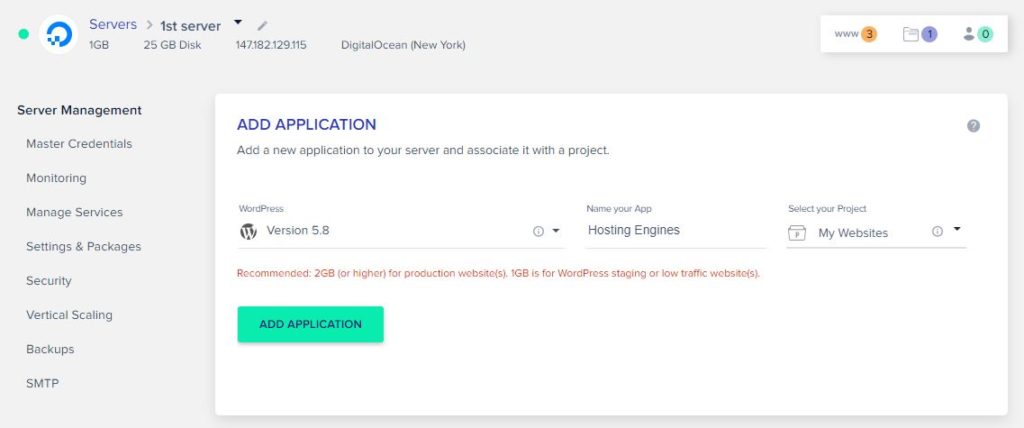
Go to the top under APPLICATION & SERVER DETAILS, if it’s set to WordPress by default do nothing. But if it’s not and you want a WordPress website, click on the app dropdown menu and choose WordPress.
Next up, name your application as you will need to distinguish between all your apps later. You can name it the same name as the website that you want to create like (Hosting Engines). You can change it later.
After that, the name of the server, for instance (First Server, WordPress Server,). Or any name you want to differentiate between them if you plan to create many servers, you can change it later.
Finally, click on LAUNCH NOW to launch your first server. Wait a few minutes and your server will be ready with the first website.
At this point, you created a server and a website. You can create more servers and websites from the (+) sign in the top bar and you can navigate to your servers from the Servers page, and the websites from the Applications page, or from the (www) sign in the server bar.
Learn more about Server Management (Cloudways control panel).
Step 3: Create a New Website
When you first create a server on Cloudways, you will automatically create a website with it. But if for any reason you want to create another one, here’s how you can do that.
Click on the (+) plus sign on the upper part of the page and select Add Application, You will see a pop-up window that tells you to choose the server that you want to deploy this application on it.
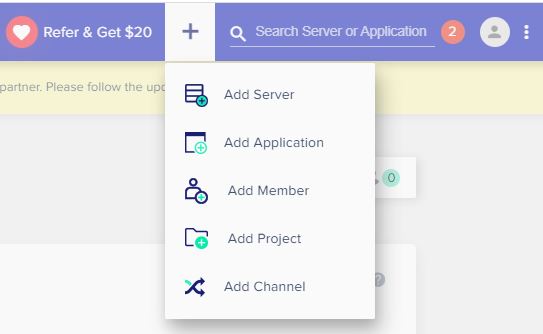
Since this is your first server, you will have no option but this one. After that, then click on add application.
From the five types of applications, choose WordPress. Then name your new application and select your project. Projects for organizing your applications. Once you complete these required fields click on ADD APPLICATION.
To go to your website click on the (www) sign on the server bar, or go to the Applications page. Once you are there, you will see a Cloudways subdomain link that takes you to your website.
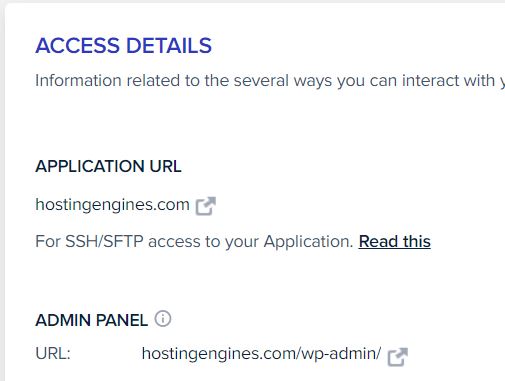
To access your WordPress website admin panel, you can click on the admin panel URL and copy the username and password of your WordPress website from the Access Details in the website settings (Application Management).
Step 4: Add Your Domain Name
When you finish creating your WordPress website, you need to point your domain name to your Cloudways application. The first step is to have a domain name.
1. Register a domain name:
Because Cloudways doesn’t offer domain name registration, you will have to register a domain name on another platform like NameCheap if you don’t have a domain name registered already.
2. Add records to your domain DNS:
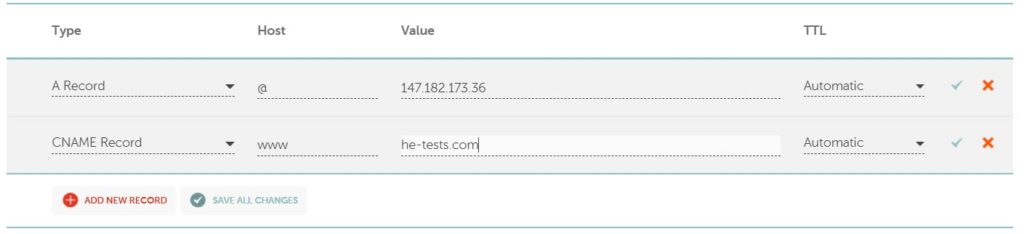
Point your website domain (i.e. mysite.com) by adding an ‘A’ Record at your domain hosting registrar.
Copy the IP address of the server that has your website from the Server or the Application Management.
Go to your domain DNS records and add an “A” record or edit the existing one by adding the IP address in the value field. Read in detail how to point a domain name to Cloudways.
3. Add your domain to your Application:
Go back to the website settings and click the Domain Management tab from the left sidebar. From here you can add your domains and sub-domains.
Write down your domain name in the Primary Domain field and click save changes.
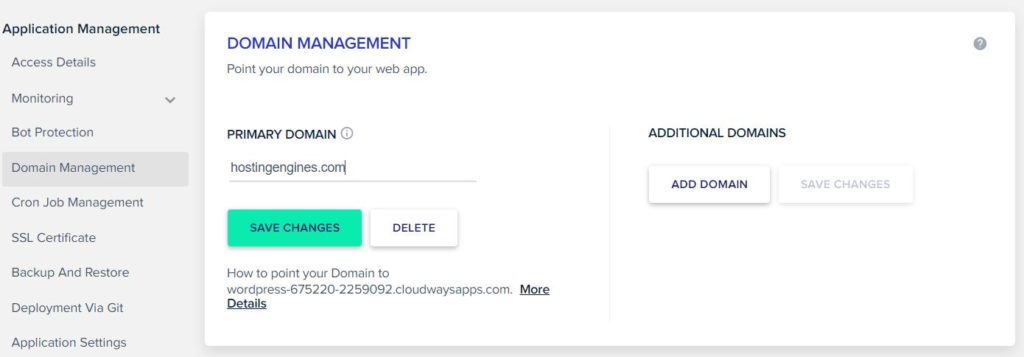
Now when you go back to the Access Details tab, you will see that your website URL has changed to the new domain that you added.
Step 5: Install Free SSL Certificate
The SSL certificate is the lock next to your domain name encrypting the connection between the user and server.
Therefore whenever visitors visit your site and see this little icon they know that your site is secure. So, it’s an important feature to apply to your websites.
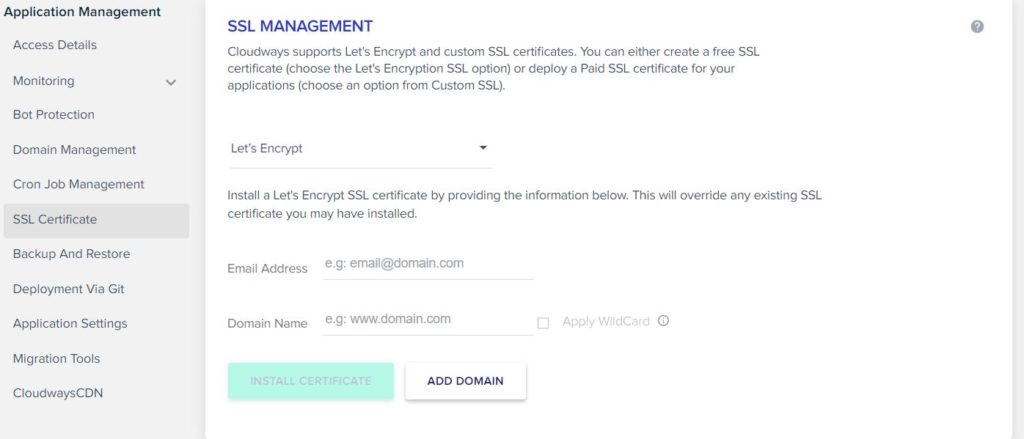
Adding and installing an SSL certificate to your website is easy on Cloudways. All you have to do is to select the SSL certificate in the Application Management section, add your email address, add your domain, and finally click Install Certificate.
Step 6: Migrate To Cloudways
If you already have a WordPress website on another hosting provider and want to migrate it to your Cloudways server, you can request Cloudways migration from the Cloudways support team.
Another way is to do this work by yourself using their migration plugin.
- First, create a WordPress website.
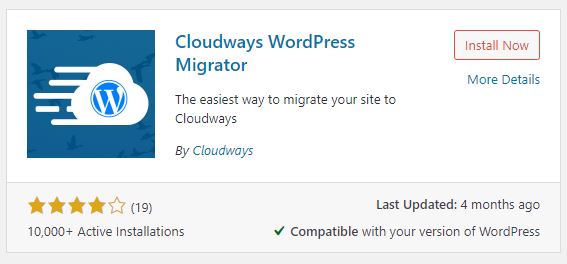
- Go to your old WordPress website and install the Cloudways WordPress Migrator plugin.
- Click on the Cloudways Migrate tab at the bottom of the WordPress panel.
- Enter your email and click Migrate.
- Fill in the required details.
- Scroll down and click migrate.
Read in detail how to migrate a WordPress website to a Cloudways server
Final Thoughts
We have tested many web hosting services, Shared, Managed, VPS, Cloud, and Dedicated servers. We found that Cloudways is the best choice for all website owners.
If you are a beginner, Cloudways provides managed web hosting solutions.
If you are a pro, Cloudways saves you time managing the servers by yourself.
And if you are obsessed with page performance and loading speed, Cloudways is the best choice for you.
Read Cloduways Autoscale.